MOSFETS a pragmatic Embedded prototyping journey
Why pragmatic, well in a previous post I spoke about an embedded prototyping journey that was rather abstract, well I have another one it’s a tad abstract as well but less so.
My aim with this is to try and explain how I prototype components. Both to share what I am doing, and since explaining a subject always helps me understand it better, an effort to learn better ways of prototyping.
Today my idea is to prototype a part of a motor driver for say a gate, let’s say we are making a gate module to open and close up gates automatically. For the sake of simplicity let’s assume we want to operate a sliding gate, most likely by driving a motor to close and open it.
- T drive a motor that is powerful enough to pull and push a gate, we need a motor that runs on say 24 VDC. Our digital system will run on either 3.3V or 5V so we know we will need different voltages for one,
- Additionally, I would like the closing of the gate to be controlled by either an RF button or by the gate sensing that there is no obstacle. In essence a switch I can trigger from software.
Today we are going to focus on prototyping the switch we can trigger from software, and this is where a MOSFET which is a type of field transistor that has an insulated gate, the voltage of which controls the conductivity of the device i.e a switch. Instead of a motor for prototyping purposes, we will power a LED.
BOM
- IRFZ44N N-channel MOSFET
- LED Diode
- Momentary Switch
- 220 Ohm Resistor
- 4.7K Ohm Resistor
- Attiny85 MCU
Step 1
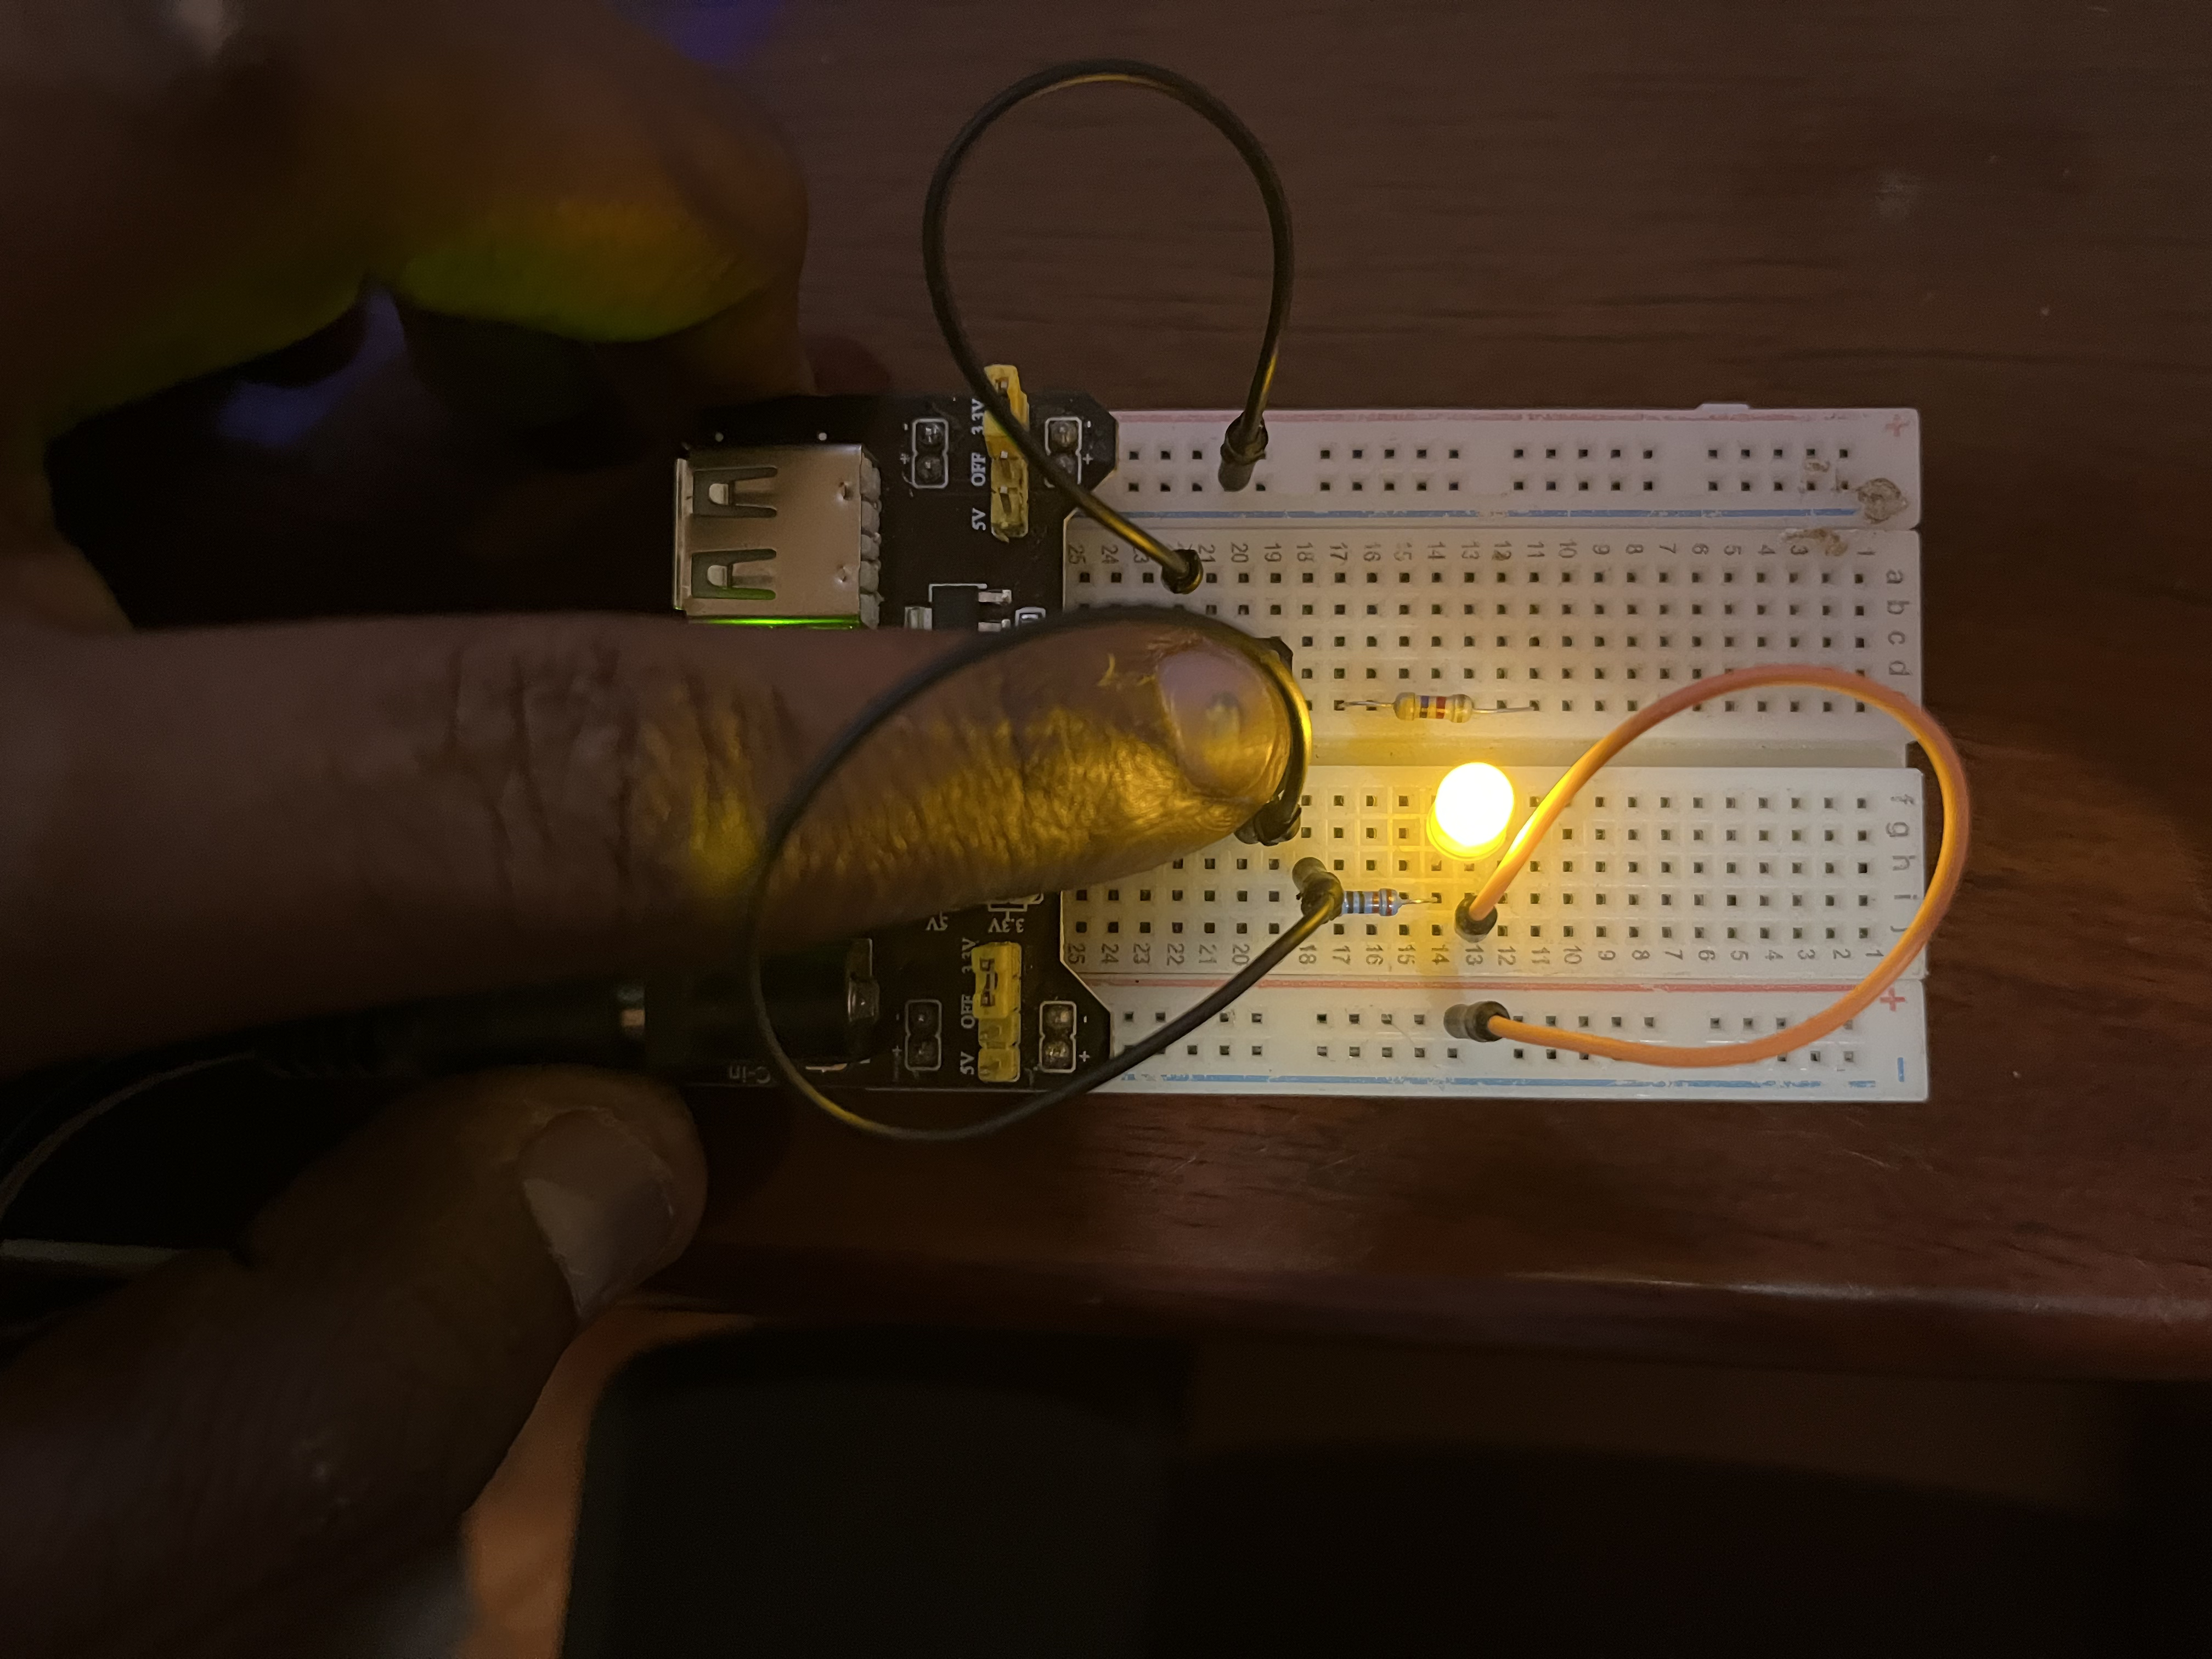
Let’s hook up the LED to a power source through a switch and prove that we can drive it, we will start with a momentary switch and hope to replace it with say a signal from a GPIO pin.
And it works with the Switch
Step 2
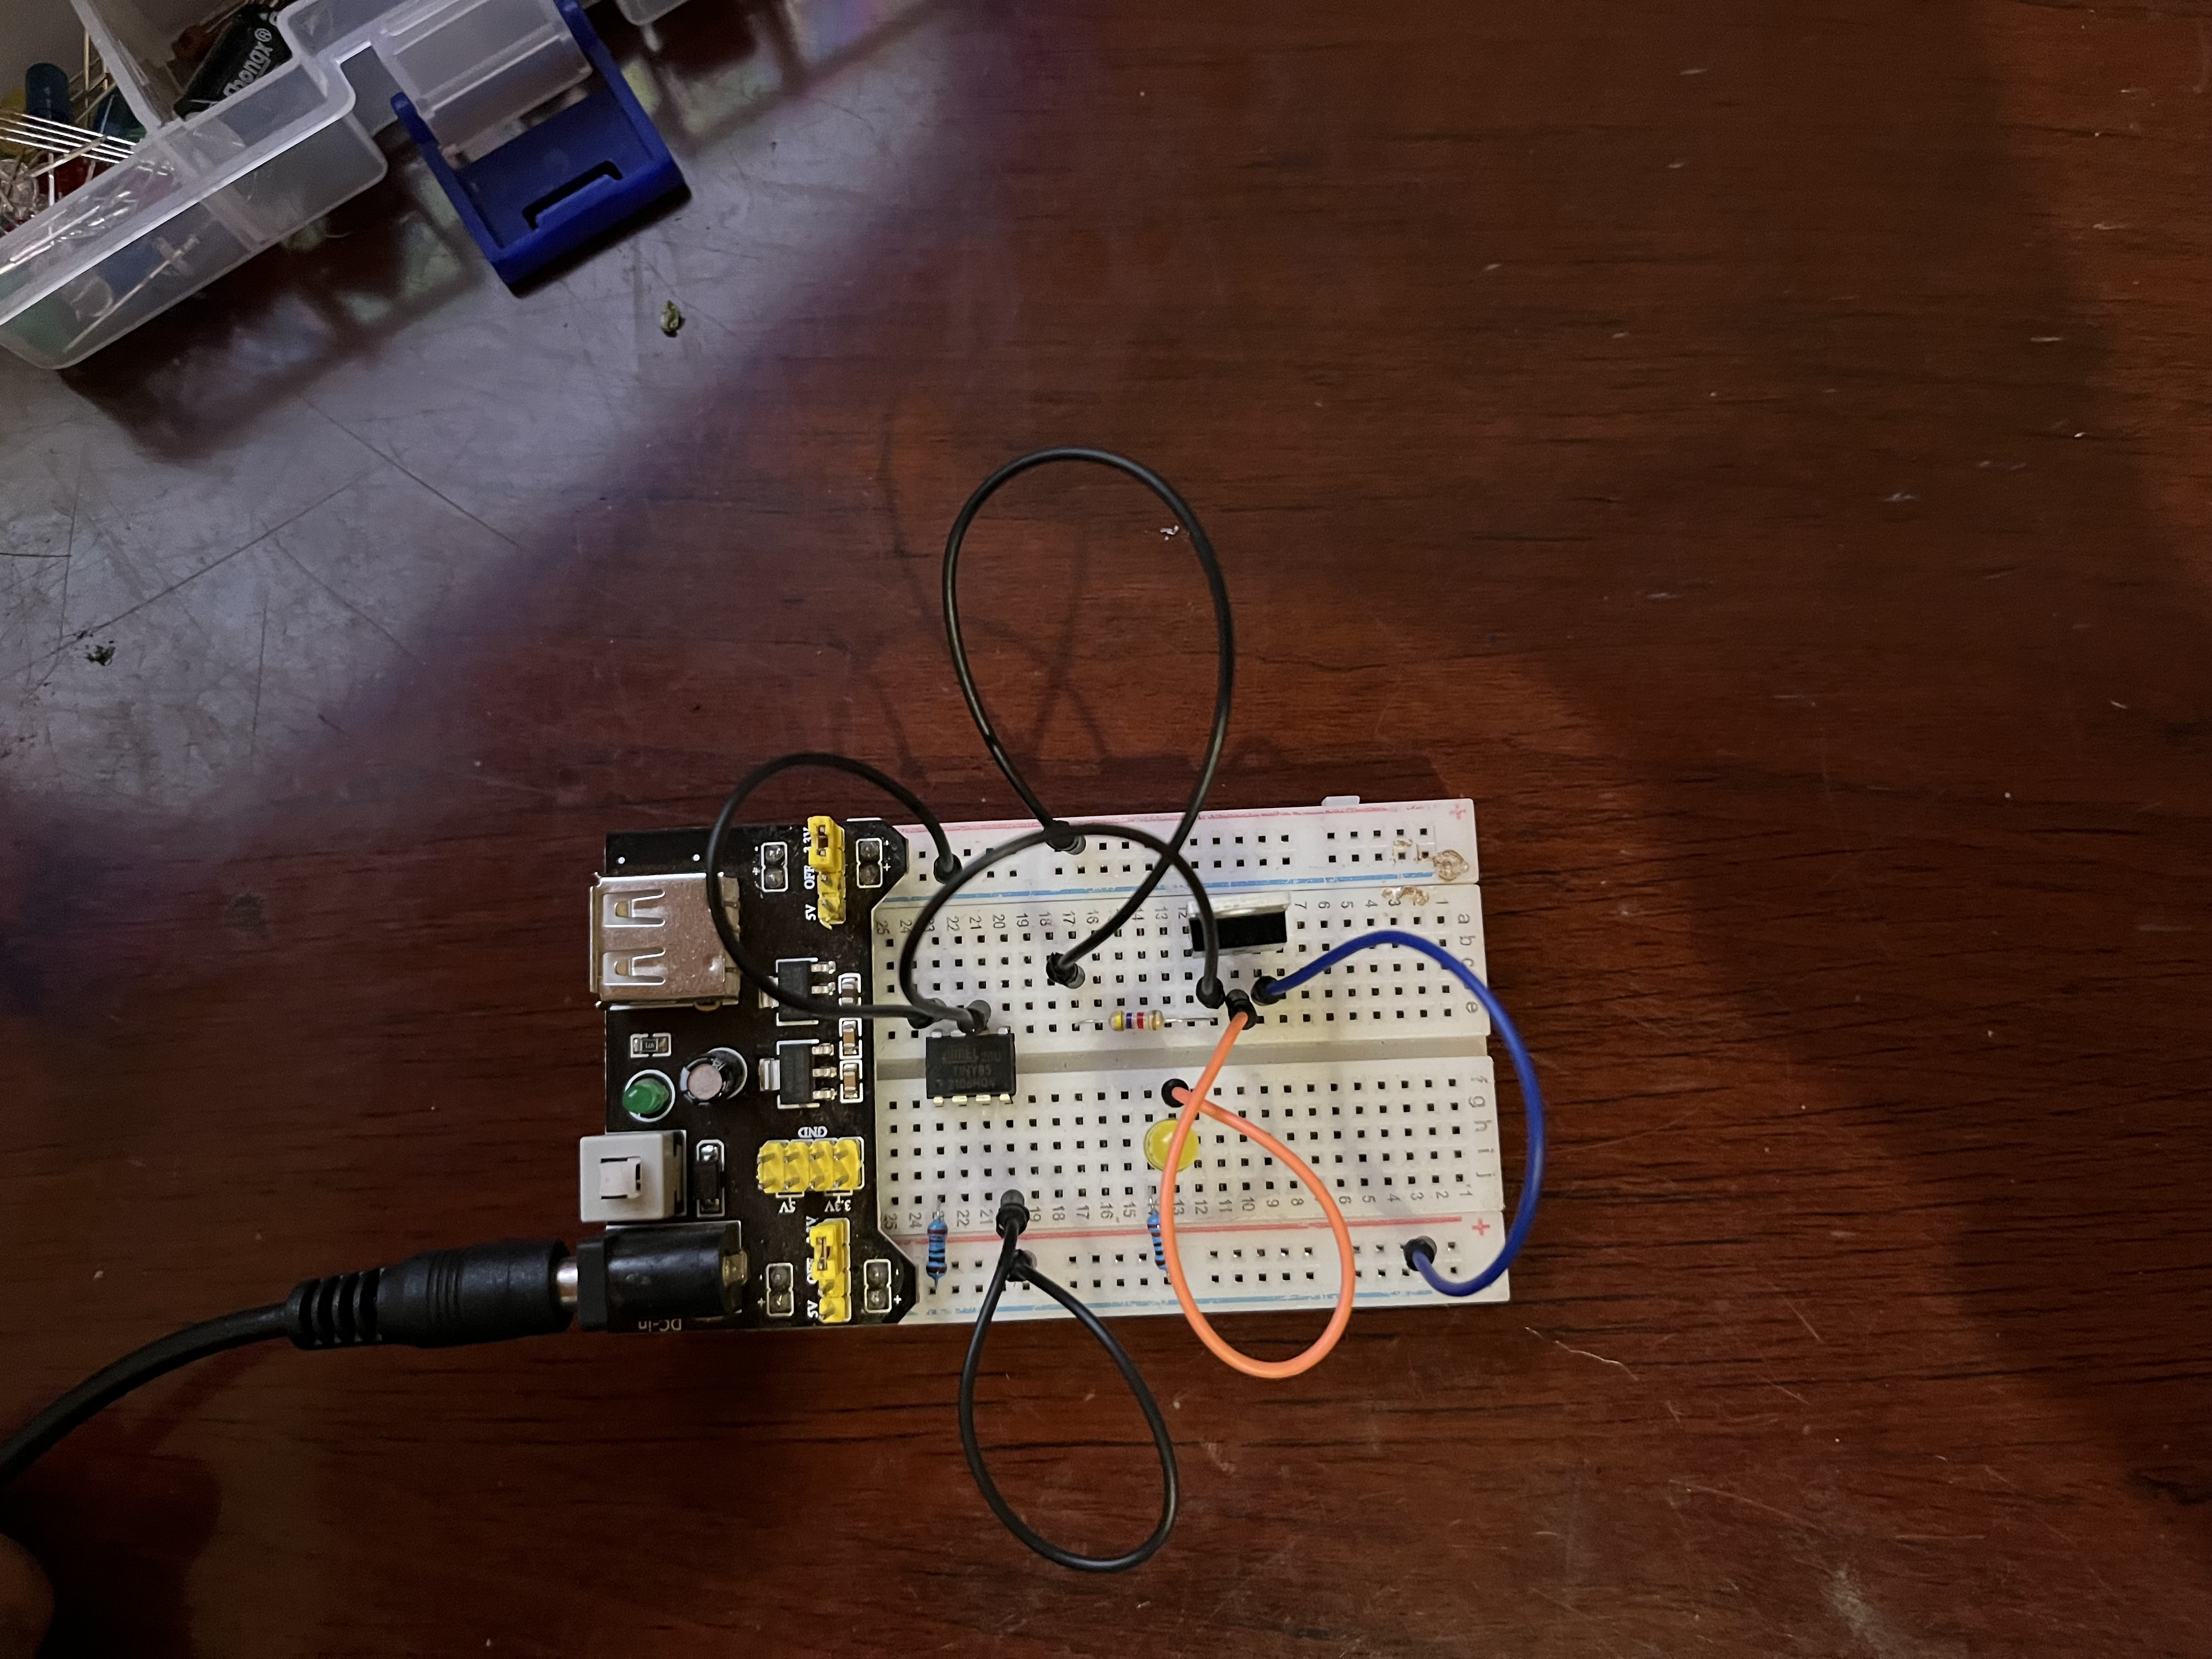
Now we have the LED working via a Switch, our issue here is that the LED is running on the same power source as our switch, we don’t want this. The motor shouldn’t have to draw power from the MCU (it would likely destroy it). So let’s add another switch that we can control with Voltage but runs on different power, and you guessed it MOSFETS can do this! Diodes, Transistors, and MOSFETs are magical electronic components but that is beyond the scope of this blog. I encourage you to check them out.
Hooked up Circuit
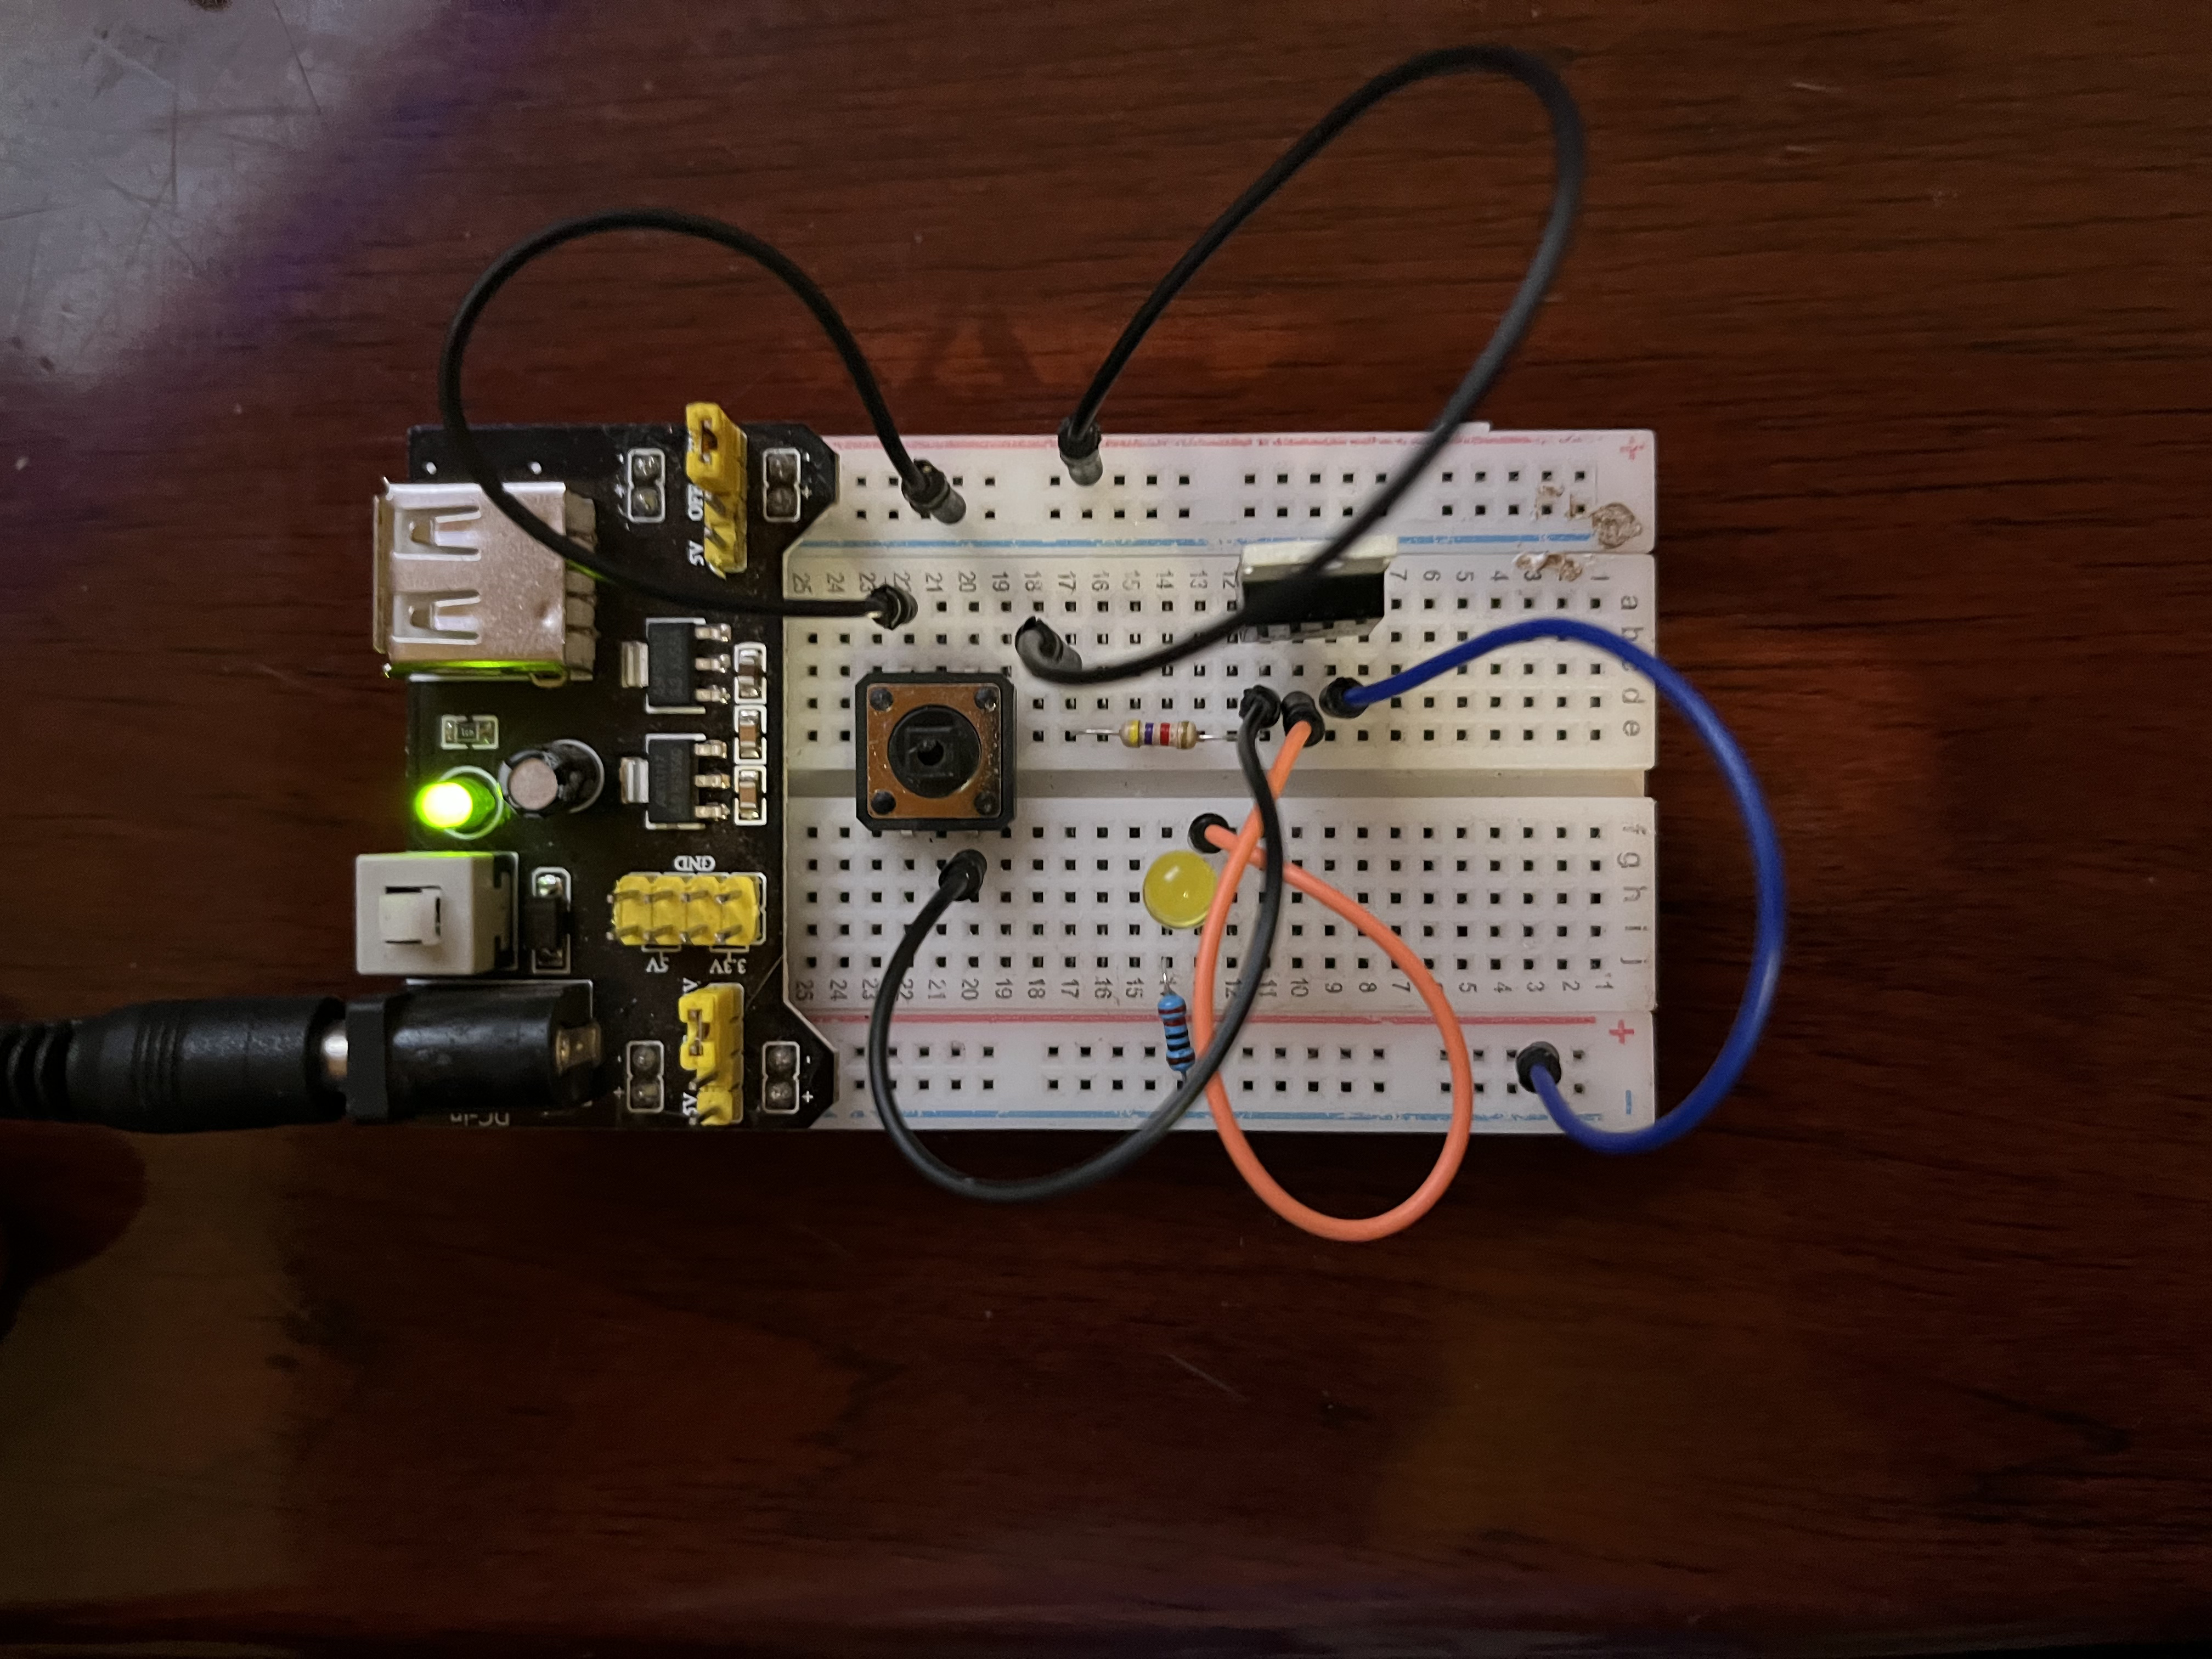
Step 3
This is amazing! We separated our power sources and as we did that we gained the ability to control the switch automatically. Now our momentary switch can be automated away imagine receiving a kind of signal and then running voltage to a pin rather than pressing a switch. A few blogs back I wrote about writing some code to control a single pin on an Attiny85. Here is the blog with almost no modification of the firmware on the microcontroller we can hook it up and see the software control the switch!
Hooked up Circuit
And there you have it!
In summary, we prototyped a little system that has components working with different voltages and along the way, we learned how to implement a software-controlled switch!
Happy Today!